How to Choose Audio Installation Equipment in 2026
Choosing audio installation equipment in 2026 is less about chasing the newest product and more about matching equipment to the space. A quiet meeting room, a busy café, and a school auditorium have different acoustic needs. Dr. Floyd Toole, a leading researcher in loudspeakers and room acoustics, captures one key principle: “The room is part of the playback system.” That matters. Even excellent speakers can sound harsh when poorly placed or aimed at reflective walls.
Begin by defining how the system will be used. Note the room’s dimensions, seating layout, background noise, and likely sound sources. Then compare speaker coverage, amplifier capacity, microphone needs, control options, and connection compatibility. Ask vendors for documented specifications and a demonstration in a space similar to yours. Measure before buying. Small details matter.
For a real project, check how equipment will work together, not just how impressive each box looks alone. Networked audio may simplify control, while conventional wiring can suit smaller, simpler rooms. Plan for accessible controls, safe cable routes, ventilation, and future servicing. Confirm warranty terms and product support in your region. Costs can rise quickly when installation labor, mounts, acoustic treatment, or commissioning are missing from the estimate.
No checklist replaces listening in the actual room. A short test with speech and music can reveal uneven coverage, echo, or uncomfortable volume changes. Even careful plans miss something; room use may change after installation. Leave space in the budget for adjustment. The best audio installation is not necessarily the most expensive. It is the one people can hear clearly, operate easily, and maintain reliably.
Define Room Use and Target Levels Against NIOSH’s 85 dBA, 8-Hour Limit
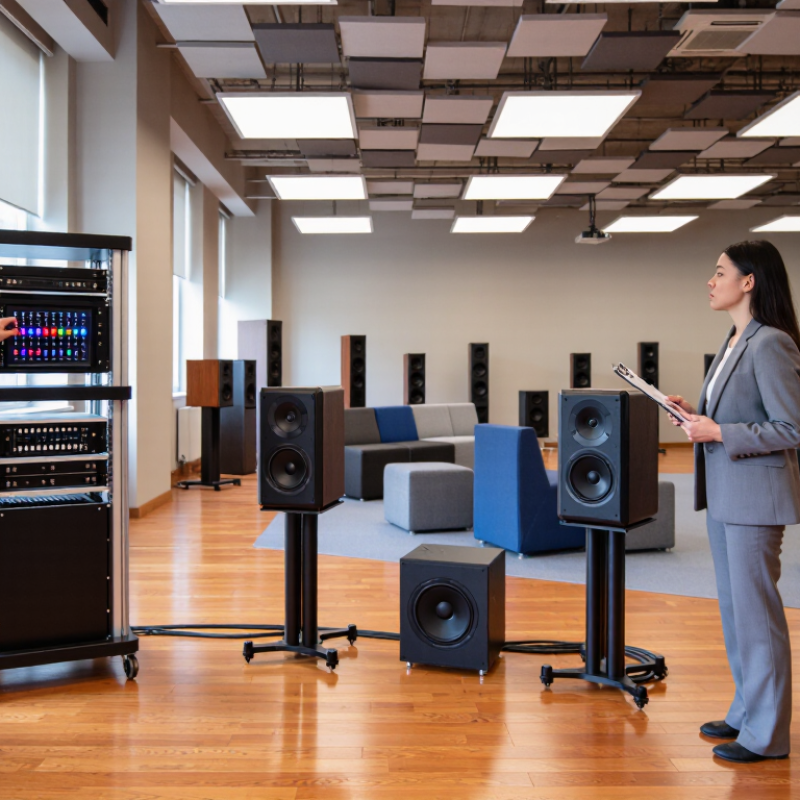
Choose equipment only after defining how the room will be used. A quiet presentation space needs clear speech, while a rehearsal room may need more even coverage across several positions. Set a realistic listening target, then measure sound where people actually sit or work. NIOSH recommends limiting occupational noise exposure to an average of 85 dBA over eight hours. This is a recommended exposure limit, not a universal room-volume rule. Exposure time matters: under NIOSH’s 3 dB exchange rate, 88 dBA corresponds to four hours, and 91 dBA to two. A loud passage can change the day’s exposure quickly.
Tips: Use a suitable sound-level meter, note the reading and duration, and check several listening positions. Keep a little system headroom so you do not need to push the level into distortion. I check twice. Measurements still miss how people move through a room.
Match speaker coverage and amplifier capacity to the target, rather than choosing by room size alone. Hard walls, low ceilings, and reflective tables can make sound feel harsher than the meter suggests. If readings approach the target limit, reduce playback time or level and reassess. Personal exposure also depends on time spent nearby, not just the control-room reading. Estimates can be imperfect; record real use and revise the plan after the room is occupied.
Map Speaker Coverage Using Manufacturer Dispersion and Sensitivity Ratings
Start with the room. Mark listening areas, ceiling height, seating rows, and reflective surfaces on a simple plan. Manufacturer dispersion charts show how widely a speaker spreads sound, often at specified horizontal and vertical angles. Use those angles to estimate where coverage begins to thin, then position speakers so neighboring coverage areas overlap modestly. Too much overlap can make voices seem blurred.
Sensitivity ratings help compare output, but read the test conditions carefully. A rating may describe sound pressure level at one watt and one meter; it does not predict the finished room by itself. Distance, amplifier power, mounting height, and room reflections all change the result. A practical estimate can flag weak areas before installation, but treat it as a starting point, not a guarantee. Then listen.
For example, a narrow vertical pattern may suit a long room with a low ceiling, while a wider pattern could reach side seating. Check the manufacturer’s coverage plot at the frequencies relevant to speech or music, since dispersion can vary across the range. Mark likely gaps on the plan and verify them with test tones or recorded speech after mounting. Real rooms are messy. I have seen a neat paper layout miss a reflective wall; small adjustments may still be needed.
How to Choose Audio Installation Equipment in 2026 — Map Speaker Coverage Using Manufacturer Dispersion and Sensitivity Ratings
| Speaker Type |
Representative Dispersion (H × V) |
Sensitivity
(dB SPL, 1 W / 1 m) |
Estimated Horizontal Coverage at 15 m |
Estimated Vertical Coverage at 15 m |
Typical Planning Use |
| Compact point-source loudspeaker |
100° × 60° |
92 dB |
35.7 m |
17.3 m |
Small rooms, near-field listening, and distributed fill |
| General-purpose full-range loudspeaker |
90° × 60° |
96 dB |
30.0 m |
17.3 m |
Classrooms, meeting rooms, and multipurpose spaces |
| Narrow-coverage, high-output loudspeaker |
60° × 40° |
99 dB |
17.3 m |
10.9 m |
Longer-throw coverage where limiting sound spill is useful |
| Column-style loudspeaker |
120° × 30° |
94 dB |
52.0 m |
8.0 m |
Speech reinforcement in reflective spaces or under low ceilings |
| Coaxial fill loudspeaker |
90° × 90° |
93 dB |
30.0 m |
30.0 m |
Balcony, under-balcony, and short-distance fill applications |
Planning note: These are representative, unbranded planning examples—not specifications for a particular product. Coverage dimensions are geometric estimates using width = 2 × distance × tan(dispersion angle ÷ 2), at a 15 m listening distance. Dispersion figures generally describe nominal coverage, often near the −6 dB points; real coverage depends on the loudspeaker, mounting angle, room acoustics, and listener position. Sensitivity figures can use different test methods, so compare manufacturer datasheets using the same measurement basis before selecting equipment.
Choose Digital Audio Interfaces for 48 kHz Sampling and Required I/O
A 48 kHz sample rate is a practical choice for many recording and installation projects. It supports clear speech, music, and playback without demanding unusually high processing power. Check that the interface’s driver and your recording software both support this rate. Mismatched settings can cause clicks, silence, or unnecessary troubleshooting.
Tips: Count the connections you will use at the same time. A two-microphone setup needs two suitable inputs, while a small venue may also need outputs for monitor speakers. Look beyond the headline input count: some sockets accept either a microphone or an instrument, but not both simultaneously. Leave one spare input if your setup may grow.
Match outputs to the actual system: stereo main outputs, headphone monitoring, and any separate speaker feeds. Check connector types and whether microphone inputs provide phantom power for your microphones. In a real room, cable runs and desk space matter too. I would rather have one useful spare connection than a crowded panel. Still, extra I/O can add cost and clutter, so my first equipment list is not always the best one.
How to Choose Audio Installation Equipment in 2026
Choose a digital audio interface that supports 48 kHz sampling and enough simultaneous inputs and outputs for your setup.
These are practical planning examples, not product specifications. Select an interface with at least as many inputs as the sources you need to record at once, plus enough outputs for your monitors and other routing needs. Confirm that the interface supports 48 kHz operation.
Verify Cabling, Electrical Safety, and System Performance During Commissioning
How to Choose Audio Installation Equipment in 2026
Verify Cabling, Electrical Safety, and System Performance During Commissioning
Commissioning should confirm that the installed system works safely, not just that it powers on. Trace each cable against the drawings, then check labels, connector polarity, continuity, and strain relief. A loose terminal behind a rack can cause intermittent crackle that vanishes during a quick test. Small details matter.
Have a qualified electrician verify grounding, circuit capacity, and protective devices before equipment is energized. Keep signal cables separate from mains wiring where practical, and inspect cable routes for sharp edges or pinched insulation. Use test instruments appropriate to the connected equipment; insulation testing can damage electronics if performed carelessly. Even a thorough checklist may miss a fault, so record readings and investigate anything unexpected.
Test the system at realistic operating levels. Listen for hum, distortion, or dropouts, and measure coverage at several seats rather than only beside the speakers. Confirm that each zone responds correctly and that amplifiers do not clip during demanding passages. Note the settings and test conditions for future service. A clean result today is useful, but it does not guarantee every room will sound balanced once occupied. Some adjustments may still be needed.