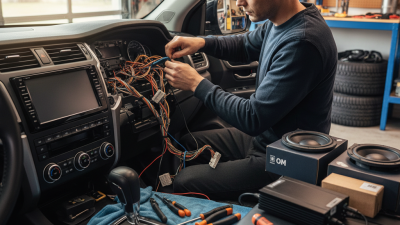
How to Install a Car Stereo Step by Step?

Installing a car stereo can transform a quiet commute into a clearer, more enjoyable drive. Yet the job is not simply removing the old unit and connecting colorful wires. A secure stereo installation depends on vehicle compatibility, careful testing, and respect for factory electronics. This guide explains each stage in practical language, from preparing tools to checking sound, steering controls, and power behavior.

Before touching the dashboard, confirm the stereo size, wiring harness, antenna adapter, and mounting kit. Vehicle manuals and reputable manufacturer instructions should guide every connection. Disconnect the negative battery terminal, then protect loose trim with a soft cloth. Small details matter. A scratched bezel or trapped cable can create problems long after the music starts. I have found that labeling each wire with masking tape prevents confusion, especially when several connectors look nearly identical. Still, even experienced installers can misread an adapter diagram, so pause and verify each pin.

The process also covers removing trim without force, securing the receiver, routing the microphone, and testing every function before reassembly. Expect minor setbacks. Some dashboards resist removal, and not every aftermarket unit fits perfectly on the first attempt. Do not guess when a connection is unclear. Consult the vehicle service information or a qualified technician. Correct installation protects the vehicle, reduces electrical risk, and improves reliability on the road. By the end, readers should understand not only what to connect, but why each step deserves patience and a final inspection.
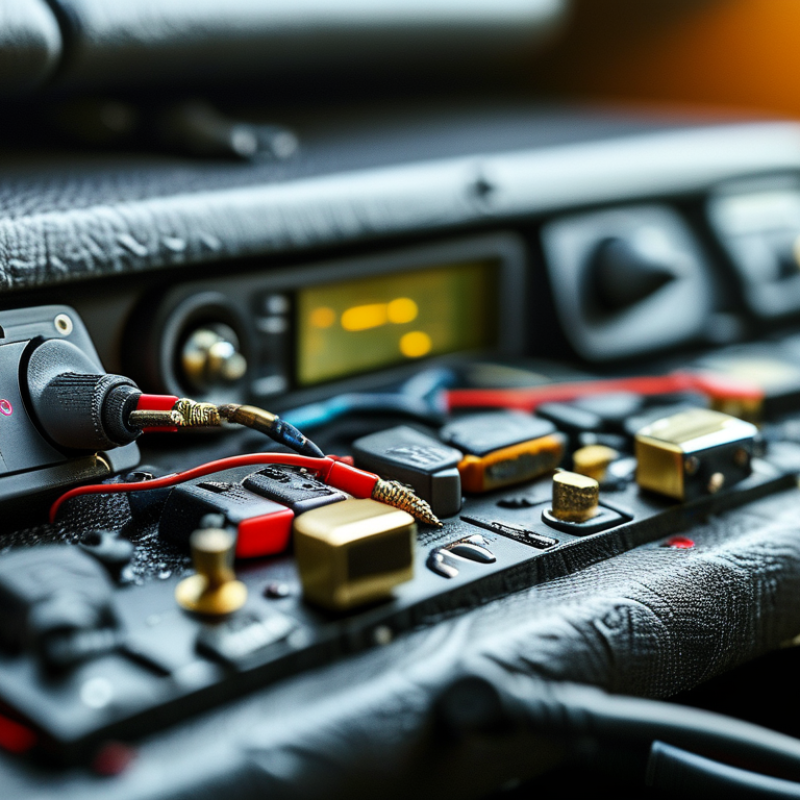
How to Install a Car Stereo Step by Step?

Gather Tools, Safety Gear, and Stereo Installation Materials

Before installing a car stereo, place every tool within reach. You may need a trim removal tool, Phillips and flathead screwdrivers, a socket set, wire strippers, crimpers, and a digital multimeter. Keep a flashlight nearby. Small screws disappear easily under a seat.

Wear safety glasses and insulated gloves while working around wiring. Park on a level surface, switch off the ignition, and disconnect the negative battery terminal. Wait several minutes before touching electrical connectors. Check the vehicle service manual and the stereo instructions carefully. Wiring colors can vary between vehicles, so never rely on memory alone. Test each wire with a multimeter before making a connection.

Gather the stereo, a vehicle-specific mounting kit, a compatible wiring harness adapter, and an antenna adapter if required. Use heat-shrink tubing or properly sized electrical connectors to protect joined wires. Keep labels and masking tape ready for marking plugs. I once rushed this step and mixed up two connectors, creating extra troubleshooting later. That mistake was avoidable. Do not force a panel or connector; resistance usually signals the wrong angle, tool, or part. Lay a soft cloth over the console to prevent scratches, and keep removed hardware in a small container. A clean setup makes the installation safer and easier to check.

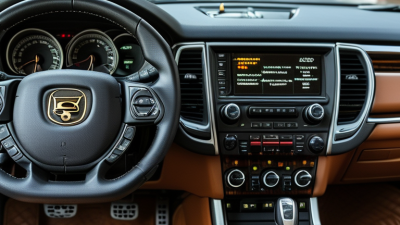
Disconnect the Battery and Remove the Factory Stereo

Before touching the dashboard, park the car on a level surface. Set the parking brake firmly. Turn off the ignition and remove the key. Open the hood and disconnect the negative battery cable with the correct wrench. Wrap the cable end so it cannot touch the terminal again. Wear eye protection. A loose tool can create a sudden spark. Record radio settings if needed. Some factory stereos require a security code after power loss, so check the vehicle manual before disconnecting anything. Wait several minutes for stored electrical power to discharge.

Gather a plastic trim tool, a small socket set, and a clean container for screws. Use the trim tool gently around the dashboard edges. Work slowly. Remove each visible screw, then pull the stereo forward without twisting it. Photograph the wiring before unplugging the connectors. This small step can prevent confusion later. Press each connector lock before pulling. Never yank the wires. Do not cut the factory harness. If a plug resists, inspect its release tab again.

I once rushed a similar removal and missed one hidden screw. The trim flexed more than expected. That mistake taught me to pause and inspect every edge. Keep metal tools away from exposed terminals. If the dashboard contains airbag wiring or unfamiliar connectors, stop and consult a qualified technician. I still double-check the battery connection before removing the final panel. Scratched plastic is difficult to hide. A clean cloth under the tool can help, though it may not prevent every mark.

Identify the Wires and Connect the New Stereo Harness

Before installing a car stereo, disconnect the negative battery terminal and wait a few minutes. This protects the vehicle’s electrical system. I also photograph the original wiring before removing anything. Small details matter when the dashboard is crowded. Label each factory wire with masking tape. Write its function, not only its color.

Factory wire colors can vary between vehicles, so never rely on memory alone. Use the vehicle’s wiring diagram and a digital multimeter. Identify the constant power, switched power, ground, illumination, and speaker wires. Test the ground against a clean metal point. For speakers, keep each positive and negative pair together. Reversing polarity may create weak bass and a thin sound. I once trusted a color code too quickly. It looked correct, but the stereo would not turn on.

Match the new stereo harness by function. Do not connect wires simply because their colors seem similar. Strip only a small section of insulation, then use secure crimp connectors or solder with heat-shrink tubing. Gently pull every joint. A loose connection can cause intermittent sound over bumps. Keep wires away from sharp metal edges and moving brackets. Before reinstalling the dashboard, reconnect the battery and test power, speakers, balance, fade, and memory settings. If one speaker stays silent, stop and inspect the connection. Rushing this part is easy.

How to Install a Car Stereo Step by Step? — Identify the Wires and Connect the New Stereo Harness
Step Task Wire, Tool, or Checkpoint Typical Specification or Function Installation Guidance
1 Prepare the vehicle Vehicle documentation and replacement stereo Confirm the stereo size, mounting depth, connector type, and vehicle-specific wiring information. Compare the new unit with the original opening before removing the factory stereo.
2 Disconnect power Negative battery terminal Disconnects the vehicle battery ground connection. Turn off the ignition and disconnect the negative terminal before handling wiring.
3 Remove the old stereo Trim tool, screwdriver, and removal keys if required Used to remove the dashboard trim, mounting screws, and factory head unit. Protect surrounding panels and keep screws in a labeled container for reassembly.
4 Identify power wires Yellow Constant 12-volt battery supply; maintains memory settings. Verify the circuit with a multimeter because wire colors can vary by vehicle and harness.
5 Identify ignition wire Red Switched 12-volt supply; turns the stereo on and off with the ignition. Connect only to a confirmed switched circuit or the correct vehicle interface output.
6 Identify ground wire Black Electrical ground or negative return path. Connect to the matching harness ground or a clean, secure metal grounding point.
7 Identify illumination wire Orange or orange/white Dashboard lighting or dimmer signal, when supported by the vehicle and stereo. Leave insulated and unused if the vehicle does not provide a compatible illumination circuit.
8 Identify antenna control Blue Power antenna control output, used on vehicles with a compatible motorized antenna. Do not use this wire as the main power supply for the stereo.
9 Identify amplifier control Blue/white Remote turn-on signal for an external amplifier or powered antenna system. Connect only when the vehicle system requires a low-current remote signal.
10 Identify speaker wires White, gray, green, and purple pairs Common speaker-channel assignments: front left, front right, rear left, and rear right. Solid-color wires are typically positive; wires with a black stripe are typically negative. Verify before connecting.
11 Match speaker polarity Positive and negative speaker terminals Correct polarity keeps all speakers moving in phase and helps preserve bass response. Do not combine speaker negative wires or connect them to the vehicle chassis unless specifically designed for it.
12 Build the harness Vehicle-side adapter harness and stereo-side harness Provides a removable connection between the vehicle wiring and the new stereo. Match each function by circuit purpose rather than relying only on color.
13 Secure connections Crimp connectors, solder with heat-shrink, or approved terminal blocks Creates mechanically secure and electrically insulated wire joints. Insulate every unused wire individually and avoid loose twists or exposed copper.
14 Connect accessories USB, microphone, steering-wheel controls, camera, or interface leads Optional connections depend on the vehicle and stereo features. Route cables away from sharp edges, pedals, moving parts, and high-heat areas.
15 Test before mounting Battery reconnection and stereo function check Confirm power, memory retention, display, radio reception, speakers, balance, and fader. Test at low volume and check every speaker for clean output without distortion.
16 Mount the stereo Mounting bracket, cage, screws, and trim panel Holds the stereo securely and aligns it with the dashboard opening. Keep wiring clear of the mounting points and do not force the unit into the dash.
17 Complete final checks Ignition cycle and dashboard reassembly Verifies that the stereo starts and shuts down correctly and that vehicle controls remain functional. Recheck the battery connection, tighten trim components, and reset the clock or saved settings.

Mount the Car Stereo and Secure All Connections

Installing a car stereo is less about forcing the unit into place and more about managing every connection. S&P Global Mobility reported that the average vehicle age reached 12.6 years in 2024. Older dashboards often have brittle clips, dusty cavities, or altered wiring. Disconnect the negative battery terminal before removing the factory unit. Test the new stereo on the workbench first. Confirm power, ground, speakers, illumination, and steering controls. Use a vehicle-specific harness rather than cutting factory wires. Crimp firmly, then cover each joint with heat-shrink tubing. Loose connections can create static, resets, or heat buildup.

Mount the stereo only after all functions respond correctly. Route cables away from sharp metal edges and moving pedals. Leave a small service loop behind the unit. It prevents tension when the stereo is removed later. Push the chassis evenly into the sleeve, then tighten the supplied brackets. The first fit is rarely perfect. I sometimes remove the unit twice to correct one trapped cable. That extra minute is cheaper than a damaged connector. NHTSA recorded 3,047 deaths in distraction-affected crashes during 2022, so test buttons, display visibility, and hands-free controls while parked.

Tips: Photograph the original wiring before removal. Label unfamiliar plugs. Do not rely on wire color alone. Check the vehicle wiring diagram and verify each circuit with a multimeter. After mounting, gently pull the unit forward to test its retention. A secure stereo should not shift, rattle, or pinch the harness.

Test the System and Reassemble the Dashboard

Reconnect the vehicle battery only after checking every plug and ground wire. Turn the ignition key, then test the stereo before securing the dashboard. Check sound from each speaker, including the rear channels. Adjust the balance and fade to confirm correct wiring. Test the volume buttons, display, clock, Bluetooth connection, and steering controls if fitted. Listen for crackling, weak output, or a constant electrical hum. These signs often indicate a loose connector or poor ground.

Tips: Keep the volume moderate during testing. Touch each speaker grille gently. A faint vibration confirms output, but excessive distortion needs investigation. Save your settings before switching the ignition off. I once tightened the dashboard too early and had to remove it again after finding an inactive speaker. That mistake was avoidable.

When the system works correctly, switch off the ignition and disconnect the battery again. Route wires away from sharp brackets, moving pedals, and airbag components. Refit the trim slowly, matching each clip with its original opening. Do not force a panel into place. A hidden wire can prevent a clean fit or create pressure behind the display. Replace screws in their original locations, then check that the dashboard sits evenly. Turn the system on once more after reassembly. Confirm that no warning lights appeared and that every control still responds. Leave the vehicle parked while completing this final check.

How to Install a Car Stereo Step by Step: Test the System and Reassemble the Dashboard

Typical 12-volt electrical readings to verify before securing the dashboard

A healthy 12-volt vehicle battery commonly measures about 12.4–12.7 V with the engine off, while the charging system typically produces approximately 13.7–14.7 V with the engine running. Confirm stable power, ignition-switched power, speaker output, and accessory operation before reinstalling the trim panels.