Best Car Stereo Installation Tips for Beginners and Enthusiasts?
Car stereo installation can significantly enhance your driving experience. According to a recent survey by the Consumer Electronics Association, 72% of drivers believe that sound quality is essential for their satisfaction. Yet, many struggle with the installation process. Can beginners confidently tackle such a task?
Expert opinions suggest that the car stereo installation process is not as daunting as it appears. Renowned installer John Doe states, “With the right tools and instructions, anyone can upgrade their audio system.” His words reflect the potential for both enthusiasts and novices to improve their vehicle's audio quality.
However, numerous DIY attempts lead to mistakes. Common issues include incorrect wiring, which can damage the system. Moreover, understanding compatibility between head units and speakers can be challenging. Embracing these hurdles is part of the learning curve in car stereo installation. Addressing these complexities can build confidence and skill in automotive upgrades.
Essential Tools for Car Stereo Installation: A Beginner's Guide
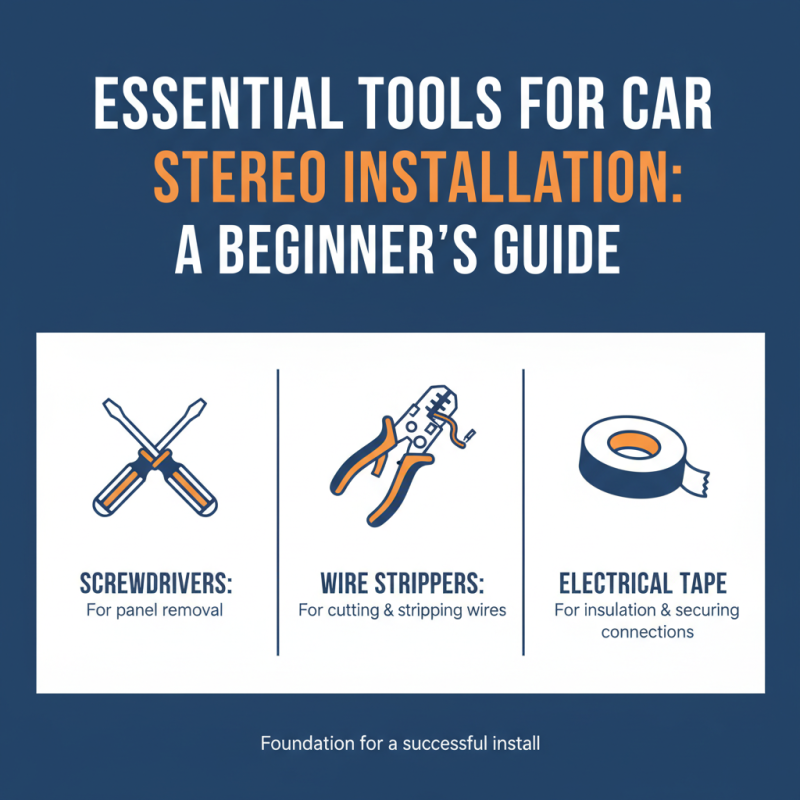
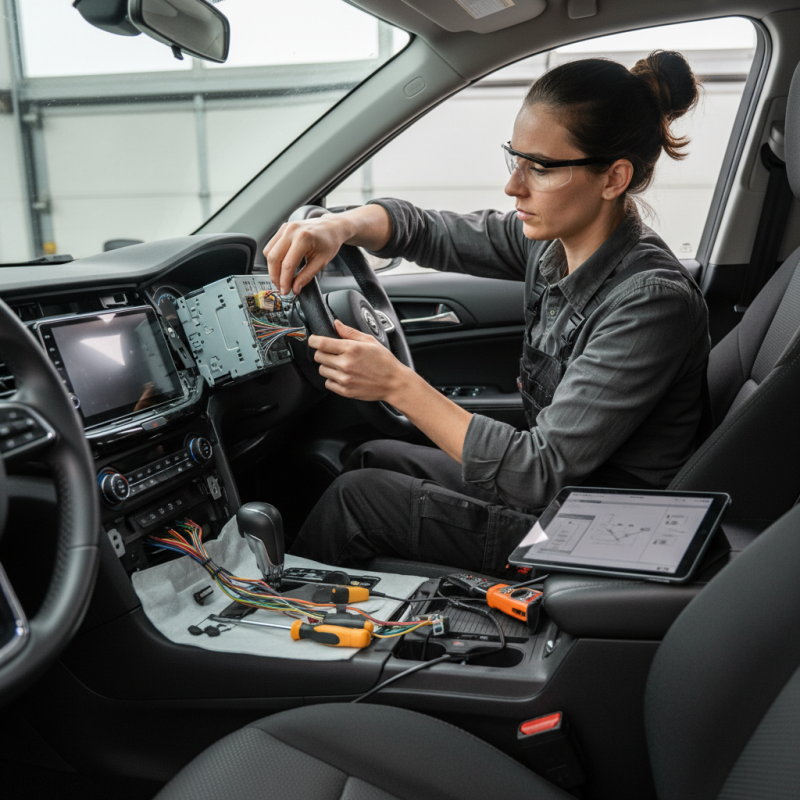
Installing a car stereo can be an exciting project for both beginners and enthusiasts. Before diving in, it's crucial to gather the right tools. A good set of screwdrivers, wire strippers, and electrical tape will be your best friends. These items are not just basic; they lay the foundation for a successful installation experience.
Make sure to have a multimeter handy to check connections. This tool ensures you're making proper electrical connections. Additionally, consider a panel removal tool. It helps avoid damaging trim pieces while accessing the stereo area. However, practice caution when using tools. Misjudging can lead to scratches or unintentional breaks in your vehicle's interior.
As you gather your tools, take a moment to reflect on safety. Always disconnect the car battery before starting. This small step can prevent shorts and ensure a safer workspace. Remember, no installation is perfect on the first attempt. It's okay to make mistakes, as they often lead to valuable learning experiences. Embrace the process, and your skills will develop over time.
Understanding Different Types of Car Stereos: What to Choose?
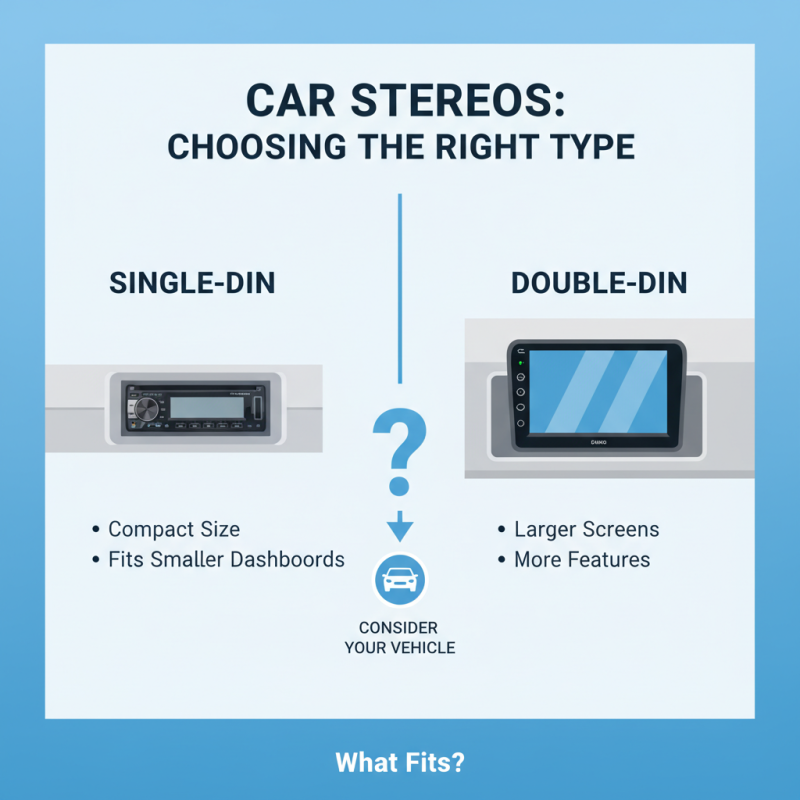
When choosing the right car stereo, consider the types available. There are single-DIN and double-DIN options. Single-DIN units are compact. They fit in smaller dashboards. Double-DIN units provide larger screens and additional features. Think about what fits in your vehicle.
Next, consider audio quality. Some stereos offer high-resolution sound. Others may lack bass or clarity. Look for features like built-in equalizers. They help customize your listening experience. Remember, not all stereos suit every car or driver. Compatibility matters.
Lastly, don’t overlook connectivity options. Bluetooth and USB ports are essential for most users. They allow for easy device pairing. Some models even support apps. Be cautious, though. Too many features can lead to confusion. Assess your needs carefully before making a decision.
Step-by-Step Guide to Removing Your Old Car Stereo Safely
Removing your old car stereo can be a rewarding experience. Start by gathering essential tools like a screwdriver, plastic prying tools, and a flashlight. Make sure your car is in a well-lit area. Disconnect the negative battery terminal to avoid electric shocks. This step is crucial for safety, even if you think it’s unnecessary.
Next, locate the screws or clips securing the stereo. Many cars have unique setups, so be cautious. When prying off the dash panel, use plastic tools to avoid damaging surfaces. Keep track of screws and parts; they can easily get lost. It can be frustrating when you find a crucial piece missing later.
Once you’ve extracted the stereo, unplug the wiring harness and antenna. Inspect the connectors and cables for wear. A frayed wire can lead to issues later. If you encounter resistance while pulling, check for hidden clips. Patience is key here, as rushing can cause damage. This process helps beginners gain confidence in their skills while ensuring proper removal techniques for enthusiasts.
Wiring and Connecting: Essential Techniques for a Successful Install
When it comes to car stereo installation, a solid understanding of wiring and connecting is vital. You’ll need the right tools, including wire strippers, connectors, and electrical tape. Start by securing a wiring diagram tailored to your vehicle model. This helps you identify color codes and functions, which can vary widely. Not every car stereo setup is the same, so doing your homework is crucial.
While connecting wires, precision is key. Strip the ends of each wire carefully; too much exposure can cause shorts. Twist connections securely and use heat shrink tubing for added protection. It’s common for beginners to create loose connections, leading to audio issues later. Double-check your work. Test connections step-by-step to avoid rewiring later.
Mistakes are part of the learning process. You might find that certain wires don’t work as expected after installation. It’s frustrating, but it’s an opportunity to learn. Document your steps for future reference. Keeping a log can help prevent similar issues in future projects. Even seasoned enthusiasts refine their techniques through experience. Enjoy the journey, and remember, each installation can teach you something new about your vehicle's audio system.
Testing and Tuning Your New Car Stereo for Optimal Sound Quality
When installing a car stereo, testing and tuning are crucial for sound quality. Many enthusiasts overlook this step, assuming default settings will suffice. A recent industry report found that correctly tuned systems can enhance sound quality by up to 30%. Achieving optimal sound requires attention to detail.
Begin by assessing your audio environment. The car's acoustics play a significant role. Factors like seat placement and material can affect sound. Use sound measurement apps to analyze your audio. These tools can pinpoint frequency response and speaker placement challenges. Adjusting equalizer settings can help correct imbalances. Even minor tweaks can lead to noticeable improvements.
Consider experimenting with sound staging. Positioning the stereo and speakers correctly can elevate your listening experience. According to audio experts, achieving an accurate sound stage is essential. It enhances depth and clarity, making your favorite tracks come alive. Remember, real-time adjustments during your listening session can identify what works best. Feedback from friends can also offer new insights and areas for improvement.
Best Car Stereo Installation Tips for Beginners and Enthusiasts
| Tip Number |
Installation Tip |
Description |
Optimal Sound Quality Advice |
| 1 |
Choose the Right Stereo |
Select a stereo that fits your vehicle's specifications and your audio needs. |
Look for features like equalizers and compatibility with high-efficiency speakers. |
| 2 |
Gather Essential Tools |
Ensure you have all necessary tools such as screwdrivers, wire strippers, and electrical tape. |
Using the right tools will ensure a clean installation that minimizes damage. |
| 3 |
Read the Manual |
Familiarize yourself with the installation manual for both the stereo and the vehicle. |
Understanding the manual can help prevent installation issues. |
| 4 |
Secure Wiring Connections |
Ensure all wires are connected securely to prevent audio dropouts. |
Twist and solder connections for long-lasting reliability. |
| 5 |
Test Sound Before Final Assembly |
Always test the stereo functionality before securing all components. |
Adjust the settings for optimal sound quality based on the acoustics of your car. |